|
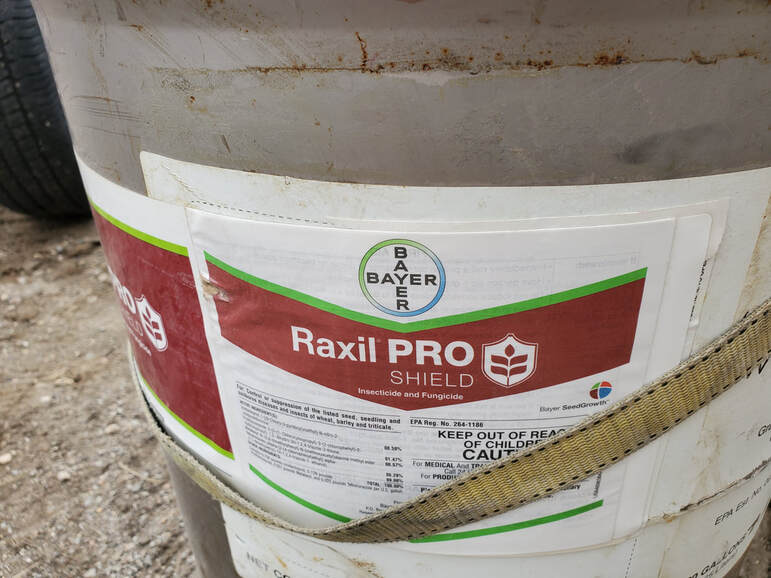
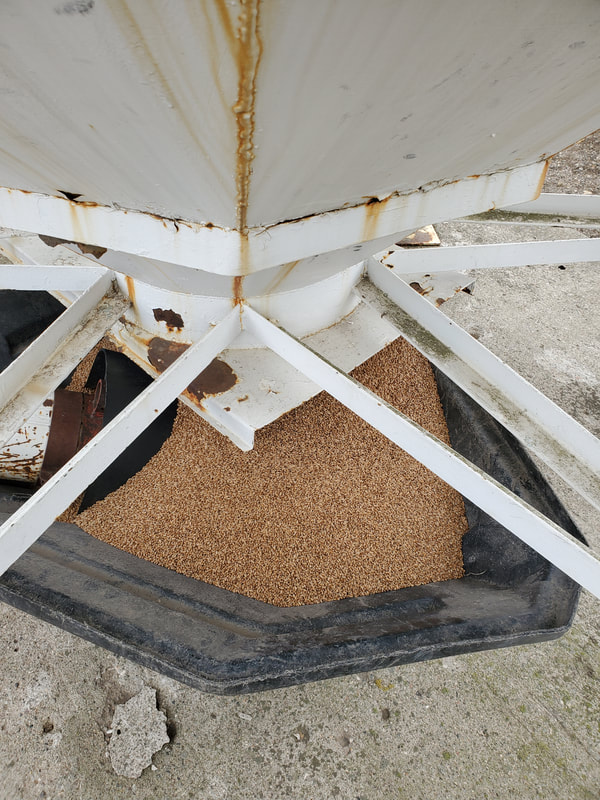
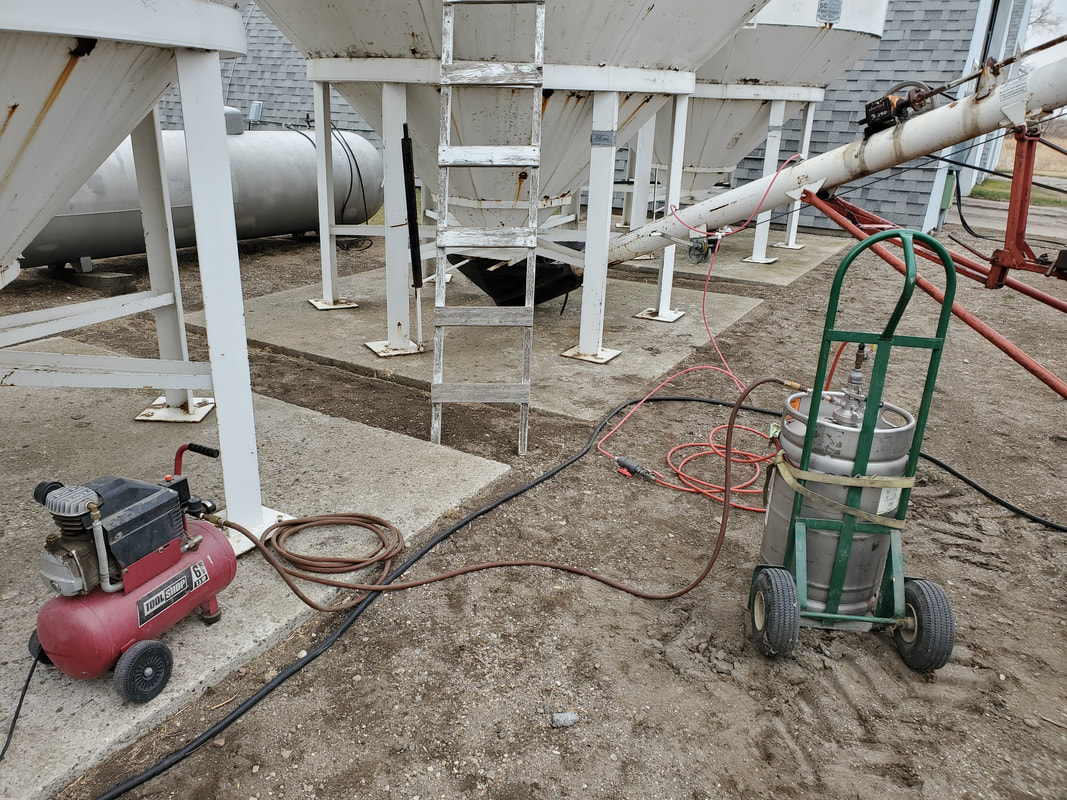
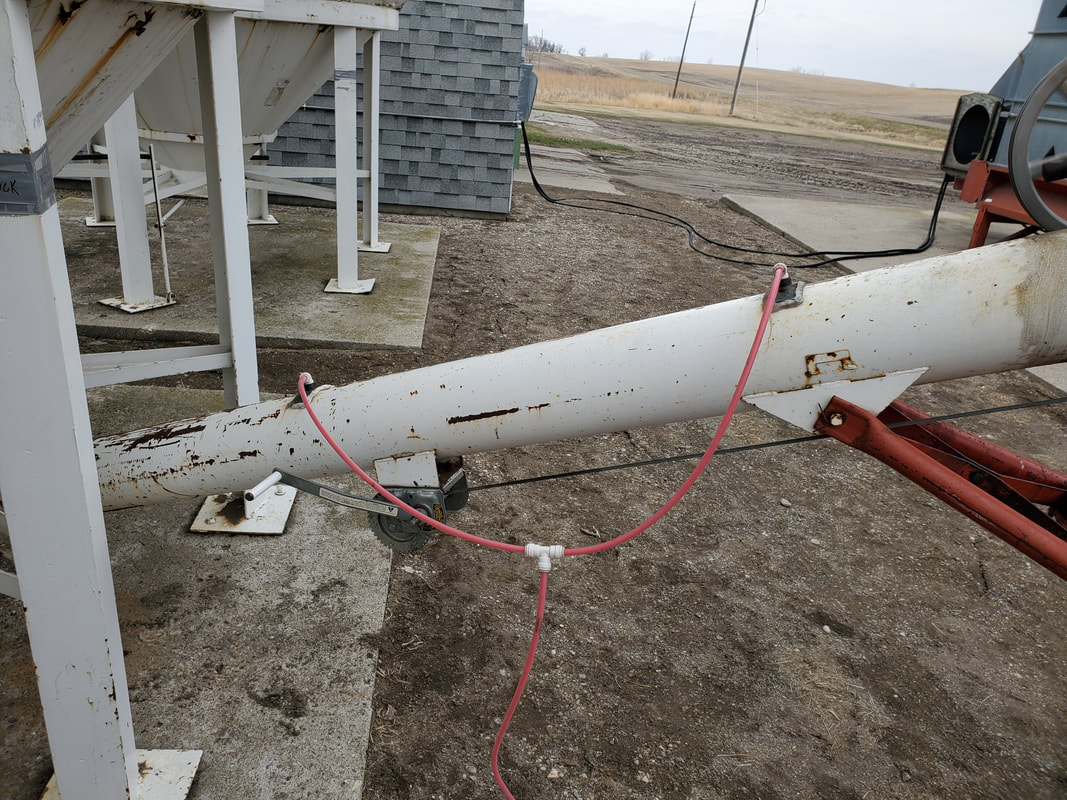
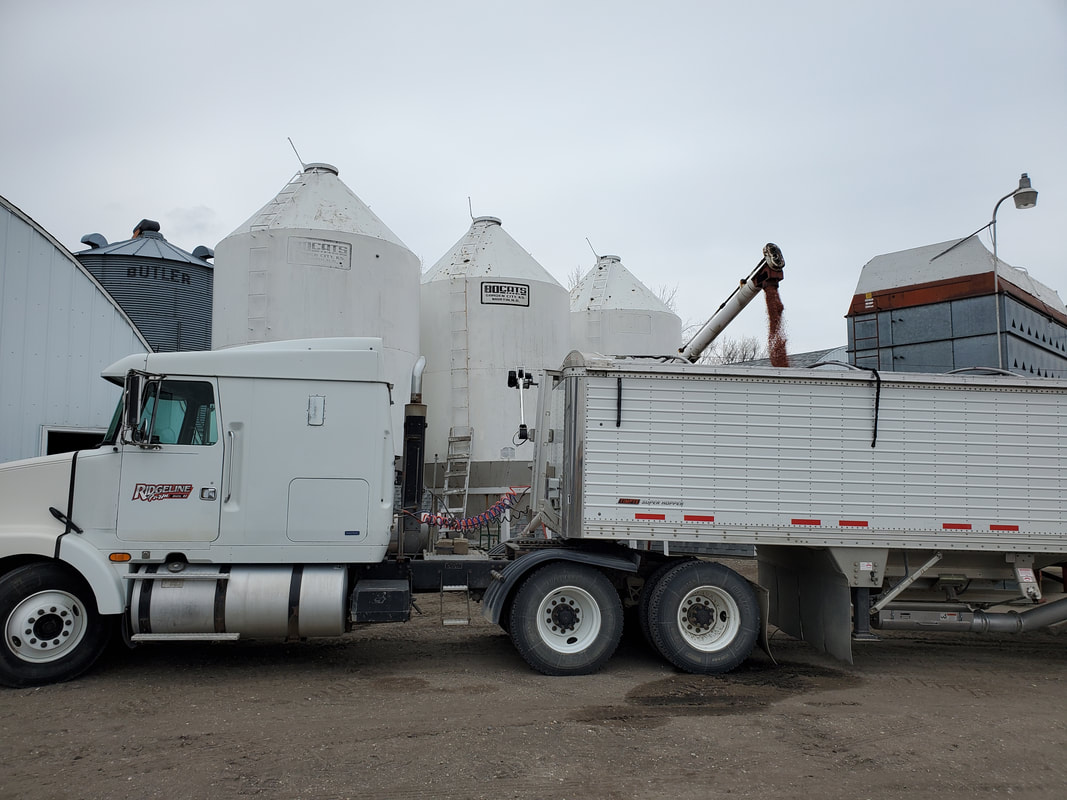
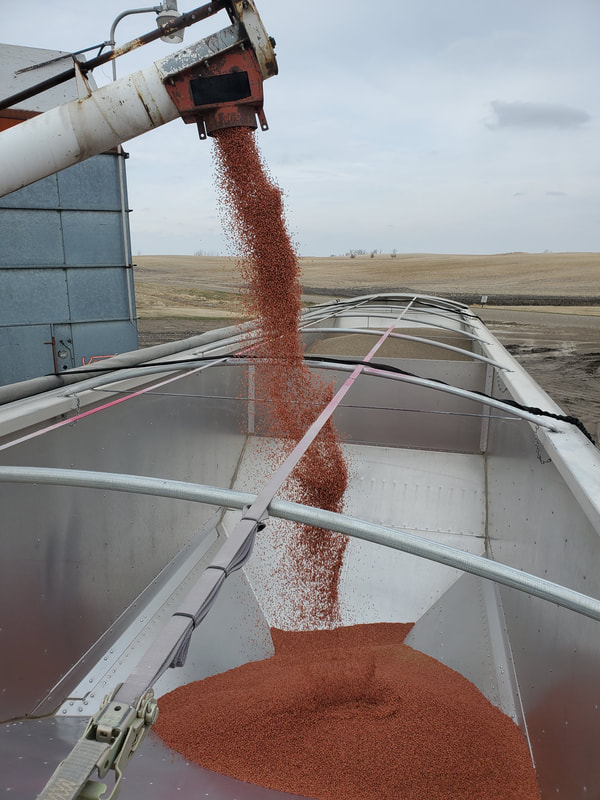
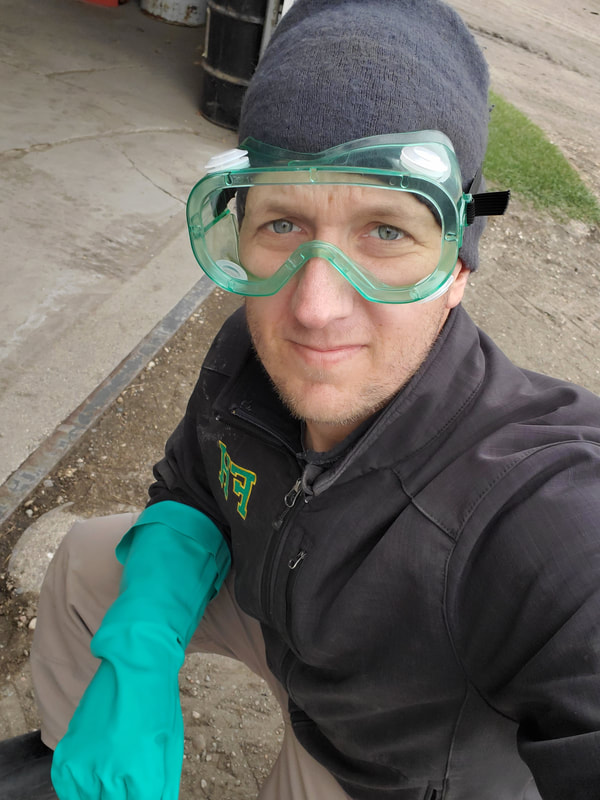
We talk safety every day on our farm. Sometimes it can get repetitive, but it's those times that help us think twice before we take on a task that we've probably done many times before. Take treating wheat seed. First of all, when I say "treating wheat seed" what I mean is that I'm adding a fungicide and insecticide treatment to our wheat seed before we put it in the ground. The product that I am using this year is called Raxil Pro Shield. The fungicide component of this treatment helps protect against smut, common root rot, seedborne fusarium scab, among several others. The insecticide component helps protect against aphids and wireworms. I believe it is important to protect the seeds while they are in the cool soil working to germinate and emerge. I'm going to walk you through the process of how I apply this treatment to the wheat seed. We have two certified seed wheat varieties in storage on our farm. The variety that we will be using first is called Murdock. It is a variety that was developed by AgriPro. I like to treat the seed the day before we will be putting it into the drill to help prevent any bridging or stickiness of the seed in the air drill tank. The setup of our system is actually fairly straightforward. We begin with the clean wheat coming out of a hopper bin. That clean Murdock wheat seed is being dropped into a hopper that has a small grain auger in the bottom of it. If you look closely, you can seed a black plastic piece over the bottom of the auger which is helping regulate the flow of the wheat into the auger. As the wheat is moving up the auger it is mixed with the Raxil Pro seed treatment. You can see in the above picture an air compressor in the bottom left corner. That is used to put air pressure into the keg of seed treatment. With the valve on top opened, the seed treatment flows out of the keg through clear plastic hoses. In the middle of the hose is a regulator which I can use to increase or decrease the rate of seed treatment being applied to the seed. And then you can see where the hose is split into a "Y" and enters the auger in two separate places. I have a closer image below. As the wheat moves up the auger after the seed treatment has been applied it is rotating around and around inside the auger tube helping to provide good coverage on all the seeds. If you remember seeing the clean wheat seed in an earlier picture, here is a picture of the seed coming out of the auger into our trailer. But to give you a better idea of what the seed looks like more closely, here is another photo. You'll notice now that the wheat seed has a red tint to it from the seed treatment. We now refer to the seed as treated and have to observe safety precautions when using it. While treating the seed, I use Personal Protective Equipment or PPE to ensure that I do not get seed treatment on my skin, eyes, or through my nose. For most pesticides, PPE means wearing goggles, a long sleeve shirt, long pants, boots with rubbers, and chemical-resistant gloves. My next picture is a selfie of me with all of those things on. So that's "treating wheat seed" in a nutshell. We do it because we want the seeds and seedlings to be healthy before they come out of the ground. Having a healthy seedling is a great start to keeping a healthy plant. And a healthy wheat plant will result in a high quality and high yielding crop. Treating the seeds is just the beginning. I'll keep you updated on our wheat crop throughout this summer. Have a great rest of the week!
1 Comment
|
AuthorThese updates are written by Scott. Archives
February 2022
Categories |
 RSS Feed